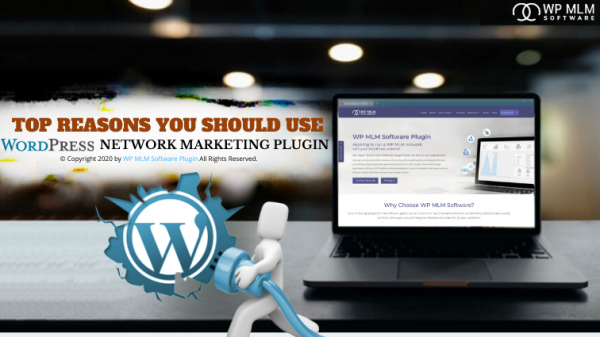
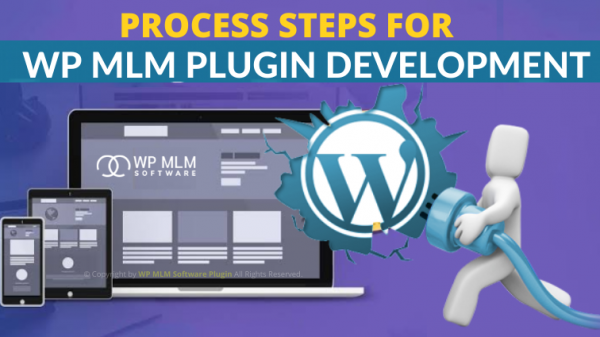
Process Steps WordPress MLM Plugin Development

December 18, 2019
Network marketers mainly focuses on the traffic on their MLM websites to expand their MLM business worldwide. These MLM websites are usually created with the help of content management system “WordPress“. To allure more potential customers to your MLM websites, more functionalities can be added via WordPress MLM Plugin. Yes! you are at the right place to know the process steps for WordPress MLM Plugin Development and the main theme of this blog is to walk you through the WordPress MLM plugin development life cycle Get the best WordPress MLM Plugin Development for your MLM Business Needs. WordPress is an open source tool to create your own customized websites for your MLM business. The websites can be customized and more functionalities can be added with WordPress MLM plugins. Plugins are the additional software that can be integrated with WordPress to add functionalities to your MLM websites. MLM related functions can be created in your plugins to add more features and functionalities to the MLM websites. In this article, you will be able to find the process steps for WordPress MLM Plugin development The WordPress MLM plugin development life cycle is categorized into the following steps You need to set up a testing environment to create a WordPress MLM plugin or to customize your website. This is also referred to as a local environment or staging site. It depends on whether the site is on your local computer or external server. The test environment should have a copy of your original site so that it will affect the functionalities of your main website. This will enable you to add or edit the functionalities of your website and it helps a lot to create a plugin with this test environment. If anything goes wrong, this will not affect your main website. Create an online staging site or test environment which functions similar to your main website with restricted permissions to access this staging site. After creating your plugin you can copy the changes you made in the testing environment to the actual main website and make it on the live version. The first step to create WordPress MLM plugin is to access the site via SFTP.
SFTP refers to a secure file transfer protocol. This is a protocol or method to view and manage your website when they are stored on an external server. You can choose SFTP of your choice. Many clients are available like FileZilla, Coda. You can select an FTP program of your choice. Use the FTP credentials provided by the web host to access the website. Once you have selected your FTP and accessed your website via the chosen. Mostly the folder will always be located at /wp-content/plugins/ Once you got into WordPress plugin folder, you can create a separate new folder for your plugin. Name your plugin folder with a unique name. You can use the lowercase letter and underscores to name it. For example, it can be my_first_plugin. Once it is done, get into your new folder. Here in this folder, anything related to the MLM plugin you create will reflect on your MLM website. Since now you are going to try a simple plugin creation, it needs to have one main PHP file. This is your next step in the WordPress MLM plugin development. Now create the PHP file for your MLM plugin. Create the PHP file within the new folder created for plugin. Name the PHP file with .php extension. For example, my_first_plugin.php. Once php file is created, enter the plugin information into main file of the plugin. Make sure to enter the following details like Plugin URL, Plugin name. * Plugin Name: My_First_Plugin * Plugin URI: http://www.my_website.com/my_first_plugin * Description: The first MLM plugin created * Version: 1.0 * Author: Your Name * Author URI: http://www.my_website.com These are the steps to create the MLM plugin, and now in the admin panel, you can activate your MLM plugin. Functionalities need to be added to this MLM plugin so that it will work on your main website. Now you can make the plugin to do some small functions. The functionalities can be added with simple actions and filters. Let us look into the simple function that can be added to your main file to see how it reflects on your site. Paste the code under the plugin information and save your main PHP file. add_action( ‘the_content’, ‘my_thank_you_text’ ); function my_thank_you_text ( $content ) ‘Thank you for reading!;’WordPress
What are MLM Plugins?
Process Steps For WordPress MLM Plugin Development
#1. Set Up a Testing Environment
#2. Access the site via SFTP
#3. Get into the WordPress plugin folder
#4. Create a new folder for your plugins
#5. Create a PHP file for the plugin
#6. Set the plugin information
#7. Add simple Plugin functionalities
Source: https://www.wpbeaverbuilder.com/creating-wordpress-plugin-easier-think
This code will add the new line “Thank you for reading” under all the post on your website. Hope now you have understood how to add simple plugin functionalities from the above example. If you want your MLM plugin to do more than one task you can create functionalities using actions and filters.
Actions and Filters
To create your own coding to add multiple functionalities in your MLM plugin, you need to be aware of how actions and filters work.
The support is provided in the WordPress website regarding actions and filters.
To learn more about it visit
Plugin API: Actions and Filters
From the above references, you can learn more functions for your plugins.
#8. Export your plugin to the live site
Now your new MLM plugin is ready to launch on your site. Compress the folder you created ( my_first_plugin) and convert it to ZIP file. Right click on the folder created and click on Compress. This applies if the folder is on local environment.
In case if you are using SFTP, right click on the folder and select download. Then you can compress the same way mentioned above.
Upload this zip file to launch on your site. Open the dashboard of your WordPress , go to plugins and click on the Add new to upload the plugin that you have created. Once uploaded click on Install Now to activate the plugin.
Now successfully you have created your MLM plugin and launched on your WordPress site.
To easily understand the above mentioned points, we have made an infographics based on it

Conclusion
Hope in this article, you will be able to look into complete process steps for WordPress MLM plugin development. Are you looking to create your own WordPress MLM plugin, you can choose the right the right service provider.